StarShot
In the distant future, pirate vessels sail the solar winds, seeking adventure and glory. Prove your skill as you navigate the solar system, raid vulnerable planets, and demolish your enemy's ships.
Each planet is vulnerable for one round only. Be there when its moment comes, and keep your ship in one piece while rivals shoot at you.
Goal of the game
Each player captains a pirate ship. Every round you secretly plan three Actions from a hand of cards, then all ships carry them out together, one player at a time. After six rounds, the player with the most victory points (VP) wins.
You score VP by:
- Shooting enemy ships, with a bonus for destroying one.
- Raiding planets while they are vulnerable. Only one planet is vulnerable each round, and the last one, at the centre, is worth the most.
- Carrying Cargo to the end of the game.
A ship that is destroyed scores nothing at the end, so staying alive matters as much as shooting.
Components
- The game board: a large hexagon of hexes with the planets and six starting seats marked (see Setup).
- One ship mat per player, with spaces for the draw and discard piles, the shield, speed and VP, and the three Action stacks.
- One ship standee per player, which shows position and facing on the board.
- Tokens in six kinds: Red, Green, Blue, Yellow, Purple and Life Support.
- Damage markers for destroyed tiles.
- One 10-card base deck per player, in the player's colour.
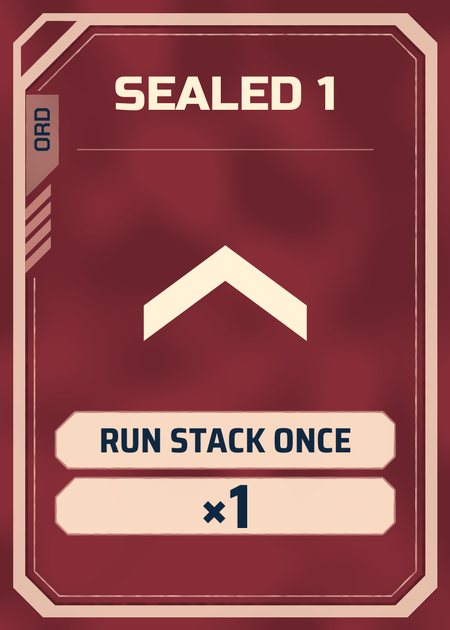
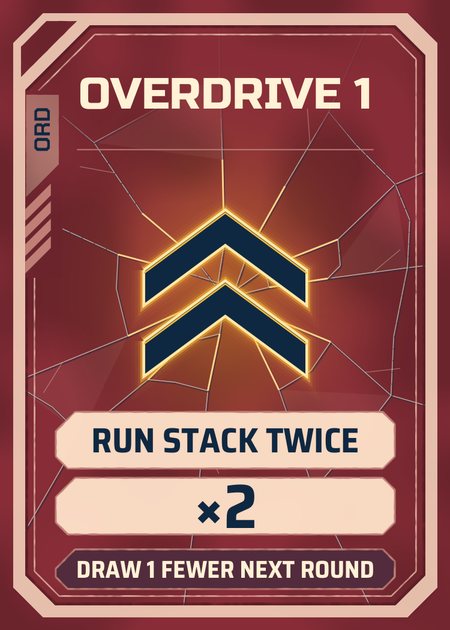
- Three cover cards per player, marked Overdrive on one side and Sealed on the other.
- The shared Desperation deck (44 cards).
- 17 Purple ability cards.
- Two six-sided dice (2d6) for attacks and one twelve-sided die (d12) for damage.
Base deck (each player, 10 cards)
| × | Card | Effect |
|---|---|---|
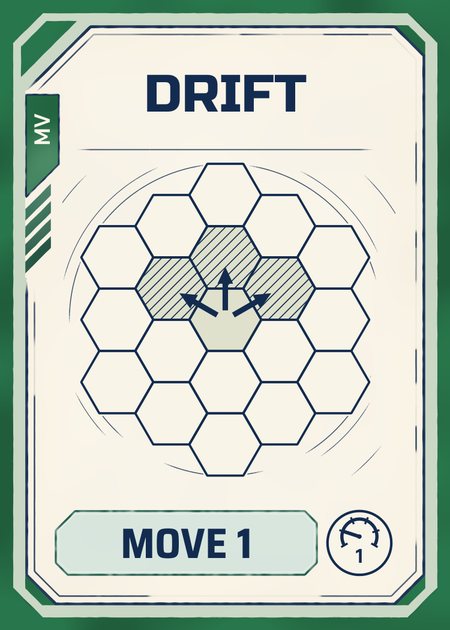
| 2 | Drift | Move 1. Drift may U-turn before it moves. |
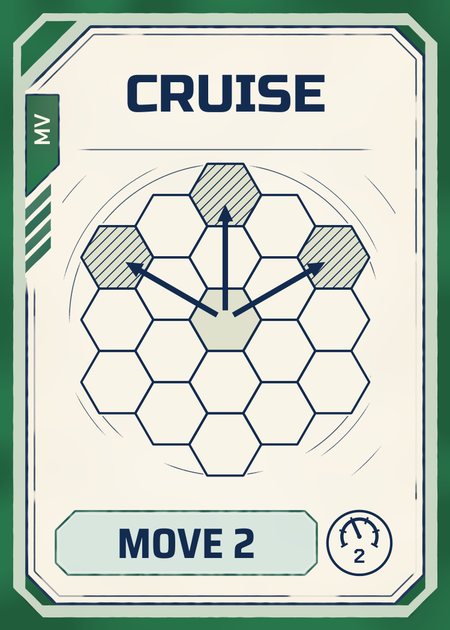
| 3 | Cruise | Move 2 |
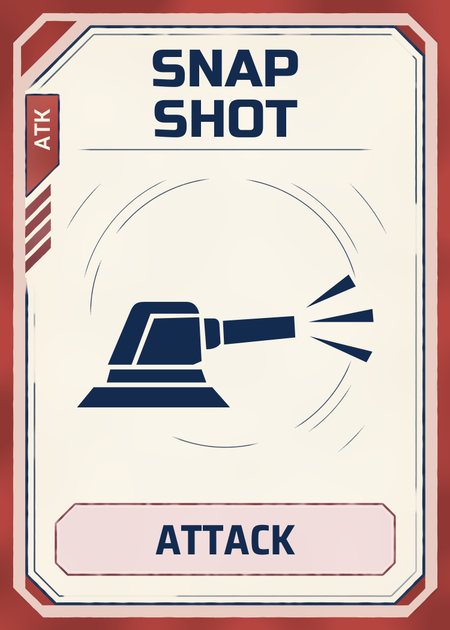
| 2 | Snap Shot | Attack |
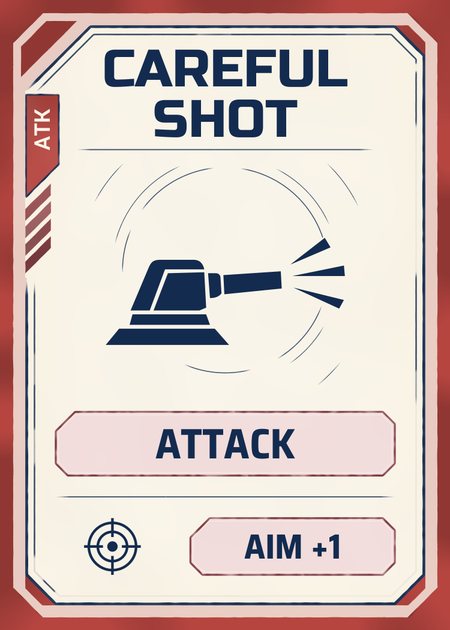
| 3 | Careful Shot | Attack, +1 Aim |
Your ship
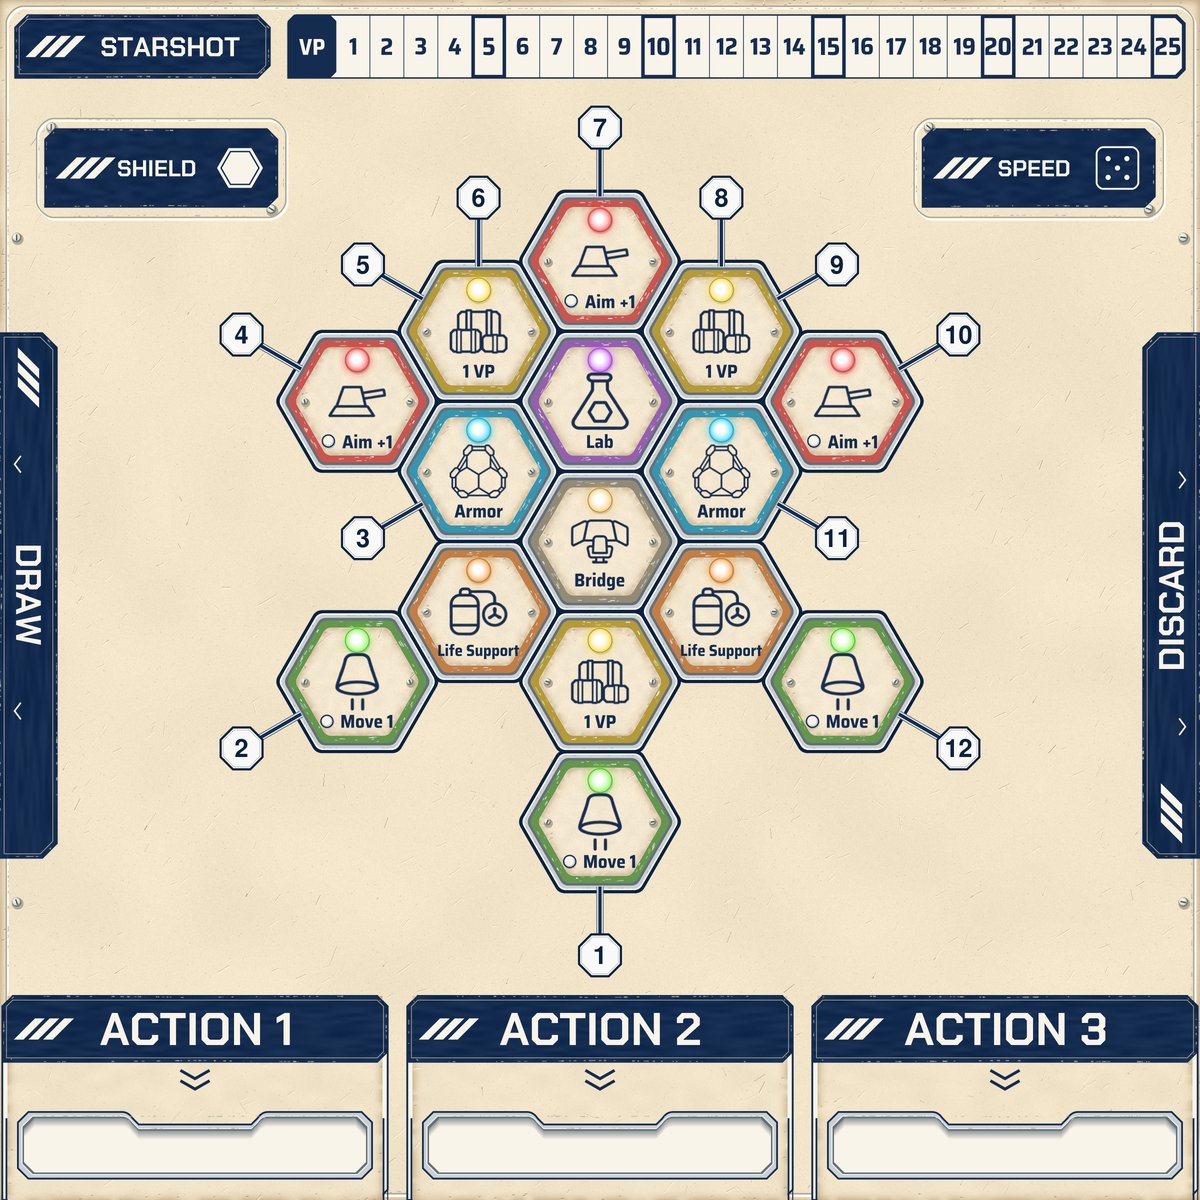
Your ship has 15 tiles. The Bridge is its core. A token on a tile switches on that tile's ability. Every token is also armor: the first damage to a tile with a token knocks the token off, and the tile survives.
| Tile | Token ability |
|---|---|
| Bridge | Never holds a token. If it is destroyed, your ship is destroyed. |
| Cannons (3) | After you declare an attack, before the roll, flip any number of ready Reds: +1 to the roll each. |
| Engines (3) | Flip at any point in your turn during an Action: move 1 hex straight forward. |
| Armor (2) | Armor only. |
| Cargo (3) | +1 VP at game end, if your ship survives. |
| Life Support (2) | Armor only. If both Life Support tiles are destroyed, your ship is destroyed. |
| Kyber Lab | Gives you one Purple ability. If the token is knocked off, the ability is gone. |
A flipped token still counts as armor. Flipped tokens ready at the end of each round.
Tiles stay in play only while they connect to the Bridge through intact tiles. The lanes and tile connections are listed in Ship lanes.
Setup
Reveal Purples
Shuffle the 17 Purple cards and reveal 4 face up.Place tokens
Each player places 5 tokens on their ship: at most one per tile, never on the Bridge. A token on the Kyber Lab takes one of the 4 revealed Purple abilities. Several players may take the same one.Decks
Each player shuffles their 10-card base deck onto the draw space of their mat, takes their 3 cover cards and sets their shield to 1 charge and their speed to 0. Shuffle the Desperation deck and place it in reach.Seat the ships
Place each ship on its starting seat, facing the way the seat points. With 4 players use seats 1–4, as shown below. With 3 or 2 players, use the seats the board marks for that player count.First player
Choose a random start player. Turn order goes to the left (clockwise).
4-player seats and planets
Playing the game
Round overview
The game lasts 6 rounds. Each round has these steps, in order.
Orders
Everyone draws cards, then secretly builds 3 stacks, one for each Action. See Orders.Action 1
Starting with the start player and going left, each player reveals and runs their stack 1.Action 2
The same, with stack 2.Action 3
The same, with stack 3.Planet raids
Every ship on the planet that is vulnerable this round scores. See Raiding planets.Cleanup
Discard played cards, ready tokens, and pass the start player to the left. See Cleanup.
Orders
Draw
- Draw 5 cards, or 6 while your shield is down.
- Draw 1 fewer for each Overdrive you made last round, Hyperdrive included.
- If your deck runs out, draw what is left, shuffle your discard pile into a new deck, and finish drawing.
Build three stacks
- Build 3 stacks, one for each Action. Each stack holds 0, 1 or 2 cards, in the order they will run, top first.
- Cover each stack with its cover card. Show Sealed for a stack that runs once, or Overdrive for a stack that runs twice. Any stack may be Overdriven, even a 1-card stack, and all 3 may be.
- For each Desperation card, decide now which face you will play.
- Cards you do not use are discarded.
You do not pick attack targets now. You choose them when the attack happens.
Overdrive
An Overdriven stack runs twice, in the order A, B, A, B. The price is next round's hand: draw 1 fewer card for each Overdrive.
- Moves happen each time.
- Attacks still merge into one attack (see Actions), but every Aim and Power-Up bonus counts once per copy.
- A Desperation card's chosen face applies to every copy.
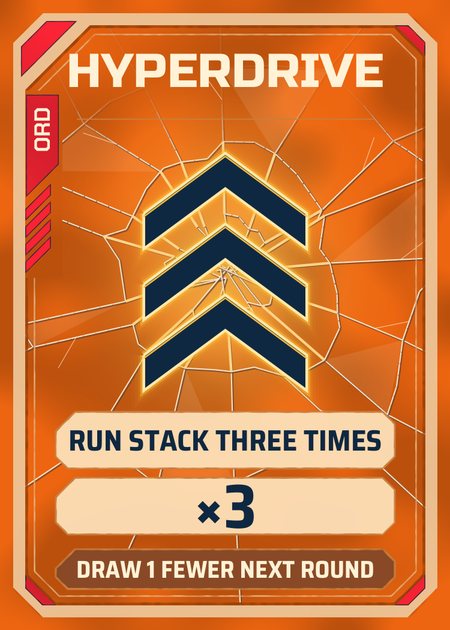
Hyperdrive is a Desperation card. Play it in place of your stack 3 cover: that stack's cards run three times, and you draw 1 fewer next round.
Example: one round of orders
You drew Cruise, Snap Shot, Careful Shot, Drift, and a Desperation card. You build three stacks. Each row shows the cover, then the stack's cards from top to bottom, then what happens on your turn in that Action.
Action 1 · Sealed
- Move 2 (you may turn first).
- Attack at no bonus.
Speed afterwards: 2.
Action 2 · Overdrive
- One attack with +2 Aim (Careful Shot counts twice, but it is still one attack).
- Move 1.
- Move 1 again.
Speed afterwards: 2. Next round you draw 1 fewer card.
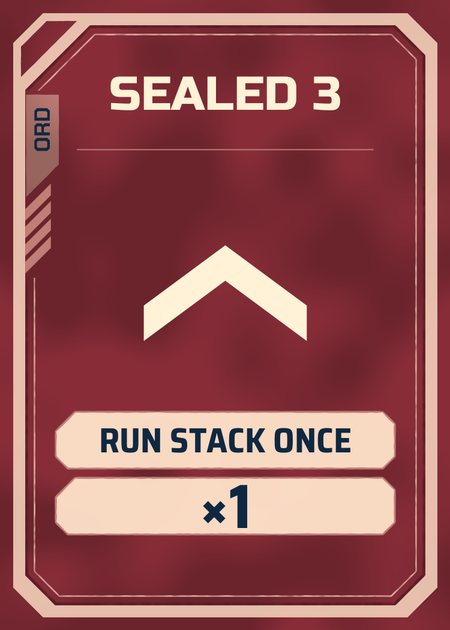
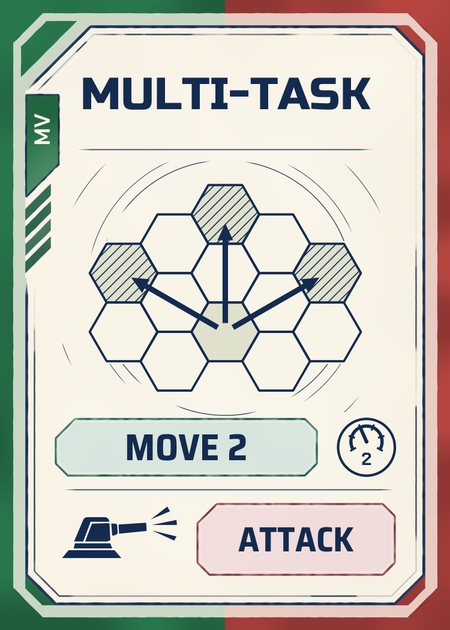
Action 3 · Sealed
- Move 2 onto the vulnerable planet.
- Attack.
The Desperation card is played on its back face, Multi-Task. Speed afterwards: 2.
With Drift on top of stack 2 instead, it would play as Move 1, then the attack with +2 Aim, then Move 1. The attack happens where the first Attack card sits.
Actions
In each Action, every player takes a turn in order, starting with the start player. Everyone gets a turn, even with an empty stack.
On your turn, turn over your cover and run your stack's cards from top to bottom.
- All Attack cards in a stack merge into one attack, made where the first Attack card sits. It adds up every Aim and Power-Up bonus in the stack.
- Aim and Power-Up cards do nothing unless the stack also has an Attack card.
- You may flip Green tokens and use flip abilities at any point in your turn.
- At the end of your turn, set your speed (see Speed).
Movement
- Your ship always faces one of the six hex sides.
- A Move card may first turn one side left or right, or stay straight. Then the ship moves exactly that many hexes forward.
- Drift may also make a U-turn before its 1-hex move.
- A move that would leave the board stops at the edge. The rest of that move is lost.
- Ships pass through each other and may share a hex. Nothing blocks movement or shots.
Attacks
There are no firing arcs and no line of sight: you can shoot any enemy ship on the board. Distance and speed make it harder.
- Range is the number of hexes to the target. A ship in the next hex is at range 1.
- Speed is the number on the target's speed track.
- A roll of 12 always hits.
Order of an attack
Declare
Choose any enemy ship as the target. Flip any ready Red tokens, +1 each.Defend
The target plays any defensive abilities.Roll
Roll 2d6. On a hit, check the target's shield, then deal damage.
You attack a ship 6 hexes away whose speed is 2, so you need 8. Your stack gives +1 Aim and you flip one Red for +1 more. You roll 6: 6 + 2 = 8, a hit.
Speed
Keep your speed in the Speed box on your mat, from 0 to 5 (up to 7 with the Redline Purple). Everyone starts at 0.
- At the end of your turn in an Action, set it to how far your played effects moved you that turn, up to 5. Count what the effects say, not where the ship ends up.
- Every move counts: Move cards, every Overdrive copy, Green tokens, Spin Gyro (1), and Desperation movement.
- Evasive Shot adds 3, even though it moves nothing. Each Overdrive copy adds 3 again.
- Turns and U-turns count 0. A move that stops at the board edge still counts in full. NightJammer counts 0. An empty stack sets speed 0.
- Speed carries over from your last turn, across rounds, until you set it again.
You flip a Green (1), play Crazy Ivan (U-turn, 0), then Drift (1): speed 2, even if you end where you started.
Shields
- Every ship starts with 1 shield charge. It never recharges.
- When an attack hits you while you have the charge, spend it. That one attack is cancelled, however much damage it carried. Later attacks hit you normally.
- The attacker still scores 1 VP, and you gain a Desperation card.
- Once your shield is down, you draw 6 cards a round instead of 5 at Orders.
Damage
- A hit deals 1 damage, plus 1 per Power-Up.
- Roll a d12 for each point to pick its lane (see the arrows on your mat and Ship lanes).
- The outermost intact tile in that lane takes the point. If it has a token, the token is knocked off. If it has no token, the tile is destroyed.
- Destroyed tiles are skipped; the point goes on inward. If every tile in the lane is gone, that point is lost.
Cut-off tiles
After damage, any tile that can no longer reach the Bridge through intact tiles is lost, with its token.
Destroyed ships
A ship is destroyed when its Bridge is destroyed, or when both Life Support tiles are. Remove it from the board. Its player scores 0 at the end, unless they hold Escape Pod.
What a hit is worth
- The attacker scores 1 VP per hit, shielded or not. An attack that destroys a ship scores 3 VP in total.
- The target gains one Desperation card for each attack that hits its shield or damages it (knocks off a token or destroys a tile), unless that attack destroys it.
- A hit where every point is lost on empty lanes scores nothing and gives no card.
Raiding planets
- A planet is 7 hexes: a centre hex and its 6 neighbours.
- Planets are numbered 1 to 6. A planet is vulnerable only in the round that matches its number, and only a vulnerable planet can be raided. Ending a round on any other planet scores nothing.
- Planets 1–5 each appear twice on the board. Either copy counts.
- Planet 6 is the board centre and appears once.
- After Action 3, every ship on the vulnerable planet scores 2 VP (rounds 1–5) or 6 VP (round 6), and gains a Desperation card. Several ships can raid the same planet.
A raid feeds you a Desperation card for next round, but Overdriving to get there shrinks next round's hand. Plan ahead.
Cleanup
- Played cards go to your discard pile, Desperation cards included.
- All flipped tokens ready.
- Take back your cover cards.
- The start player passes to the left.
Game end
After the round 6 planet raid, each surviving player adds up:
- VP from hits, kills and planet raids,
- +1 for each Cargo token still on their ship.
Players whose ship was destroyed score 0, unless they had Escape Pod. The most VP wins.
Ties: the player with the most tiles left wins, then the most tokens left. If still tied, the players share the place.
Reference
Desperation cards
You gain a Desperation card when an attack damages your ship or hits your shield, and when you raid a planet. Take the top card of the Desperation deck and put it on top of your own deck, so you draw it next round. When the Desperation deck runs out, no more cards are gained.
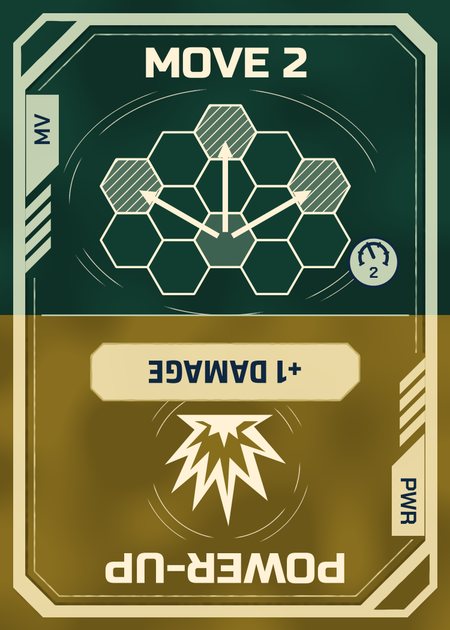
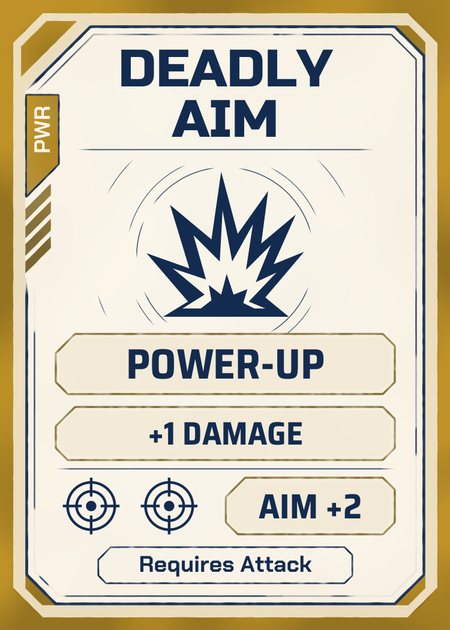
Every Desperation card has two faces. When you play it, choose one:
- Front face: Move 2 (with the normal turn) or Power-Up (+1 damage, only with an Attack in the stack). Turn the card to show the half you play.
- Back face: the stronger effect printed on it.
Either way the card stays yours. It goes to your discard pile at Cleanup and comes round again when you reshuffle.
Back faces (44 cards)
| × | Card | Back face |
|---|---|---|
| 3 | Precise Shot | Attack, +2 Aim |
| 1 | Star Shot | Attack, +8 Aim |
| 1 | Crazy Ivan | U-turn, then Attack |
| 1 | Scatter Shot | Attack every ship in a 120° cone whose point is the hex in front of you. One roll, compared to each target's own number. |
| 3 | Evasive Shot | Attack. Adds 3 to your speed count this turn. |
| 1 | Vampiric Shot | Attack, +2 Aim. If this attack removes any tokens from enemies, gain 1 token of a removed type (see below). |
| 3 | Multi-Task | Move 2 (with the normal turn), then Attack. |
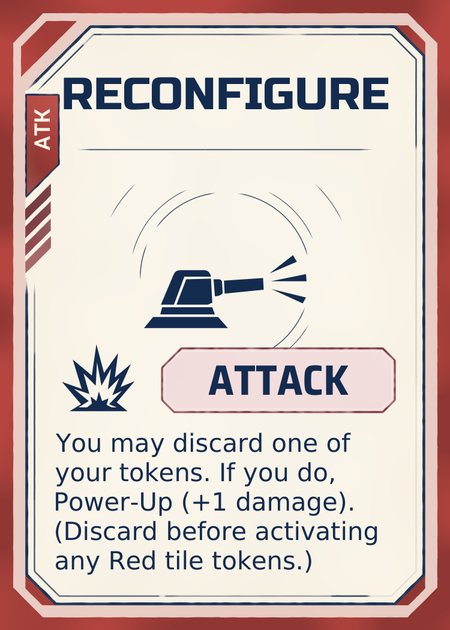
| 3 | Reconfigure | Attack. You may discard one of your tokens; if you do, Power-Up (+1 damage). |
| 3 | Brutal Aim | Power-Up, +1 Aim |
| 3 | Deadly Aim | Power-Up, +2 Aim |
| 3 | Steady Aim | +2 Aim, and the attack ignores the target's speed. |
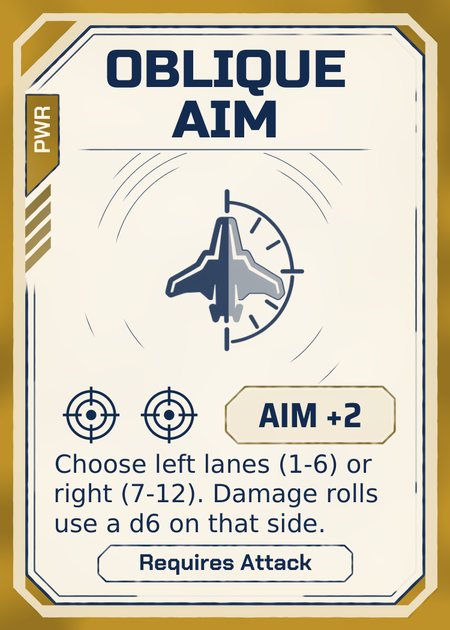
| 3 | Oblique Aim | +2 Aim. On a hit, choose the target's left or right side: every damage point rolls an attack die (d6) for a lane on that side (see below). |
| 3 | Sideslip | Move 4 hexes in the direction 60° left or right of your facing. Your facing does not change. |
| 3 | Drift King | Move 4 straight, then turn two sides left or two sides right (you must turn). |
| 3 | Afterburners | Move 3, with the normal turn |
| 3 | Leaf on the Wind | Move 1, then Move 1: two normal moves, each with the normal turn. |
| 1 | Turbo Ions | Move 8 straight, no turn |
| 1 | NightJammer | Choose an enemy ship as you play it. Warp to the hex directly behind it, facing the way it faces. If that hex is off the board, use a hex beside it that is next to the target. If neither is on the board, nothing happens. Counts 0 for speed. |
| 1 | Hull Repair | Repair one destroyed tile. It comes back without a token. Cut-off tiles cannot be repaired. |
| 1 | Hyperdrive | Play it as the cover of stack 3 (it takes no card slot): the stack's cards run three times. Draw 1 fewer next round. |
Card rulings
Multi-Task. If an earlier card in the stack is already an Attack, the merged attack happens there, before the move. Overdrive doubles the move; there is still one attack.
Reconfigure. You may discard any of your own tokens, ready or flipped. Decide when you declare the attack, before you flip Reds. A discard is not damage: nobody scores VP and nobody gains a card. With Overdrive, each copy may pay its own token, so up to +2 damage (+3 with Hyperdrive). If there is no target, you do not discard.
Oblique Aim. Choose the side once, after the hit. For each damage point, roll one of the attack's six-sided dice in place of the d12. Left is lanes 1–6 (the d6 as rolled), right is lanes 7–12 (the d6 + 6). Every damage point of the attack, Power-Ups and Overdrive included, rolls on that side. Each side reaches only its own Life Support, so one Oblique attack cannot destroy both. With Scatter Shot, choose a side for each target.
Vampiric Shot. Any token the attack removes from an enemy counts, including tokens lost when tiles are cut off. You gain at most 1 token per attack. Place it ready on an empty, intact tile of a removed type on your own ship (never the Bridge). If you have no such tile, you gain nothing.
Purple abilities
Four of these 17 cards are revealed each game. A token on your Kyber Lab gives you one of them. There are two kinds:
- Flip Flip the token to use it. It readies each round and still counts as armor.
- Passive Always on while the token is on the tile.
| Card | Kind | Effect |
|---|---|---|
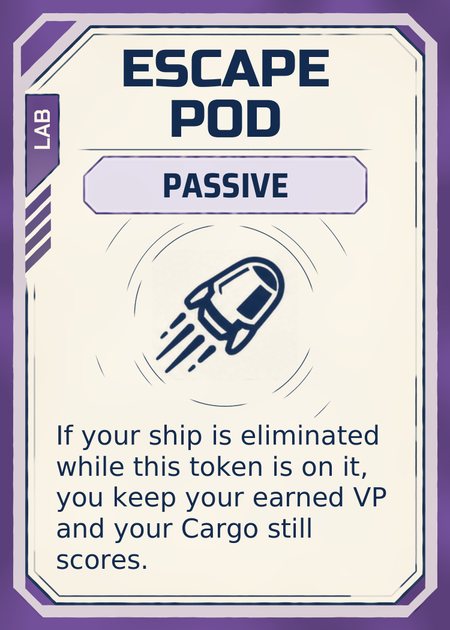
| Escape Pod | Passive | If your ship is destroyed while this token is on it, you keep your earned VP and your Cargo still scores. The attacker still scores the kill. |
| Longshot | Passive | When you attack, treat the range as at most 8. Speed is added after. |
| Phase Cloak | Passive | When enemies attack you, treat the range as at least 2. Speed is added after. |
| Lead the Target | Passive | Ignore the target's speed if it is 3 or less. |
| Shield Piercer | Passive | Your hits on an enemy's shield remove the charge and still deal full damage. The target gains one Desperation card, not two. |
| Reinforced Hull | Passive | If an attack would deal 2 or more damage to you, it deals 1 less. |
| Exoskeleton | Passive | While this token remains, cut-off tiles still work normally. |
| Interchangeable Parts | Passive | If a token would be knocked off by damage, you may instead remove a token from another tile of your ship. |
| Redline | Passive | Your speed track goes up to 7 instead of 5. |
| Salvage | Passive | When you raid a planet, instead of 2 VP you may gain 1 VP and place a new token on your ship. |
| Vault Tec | Passive | You may raid planets from 2 hexes away from the centre, but then you gain only 1 VP (5 VP on the round 6 planet). At 0 or 1 hexes away you score normally. |
| Beta Version | Passive | You gain a 4th Action after the first 3. Its stack holds 1 card and can't be Overdriven. |
| Bone Room | Passive | At Orders, draw 1 extra card. You can't Overdrive. |
| Hull Breacher | Flip | When you roll a damage lane for your hit, you may reroll it. You must keep the second roll. |
| Explosive Rounds | Flip | After your attack knocks a token off an enemy ship, flip to also destroy the tile it was on. |
| Power Conduit | Flip | Ready one of your other flipped tokens. |
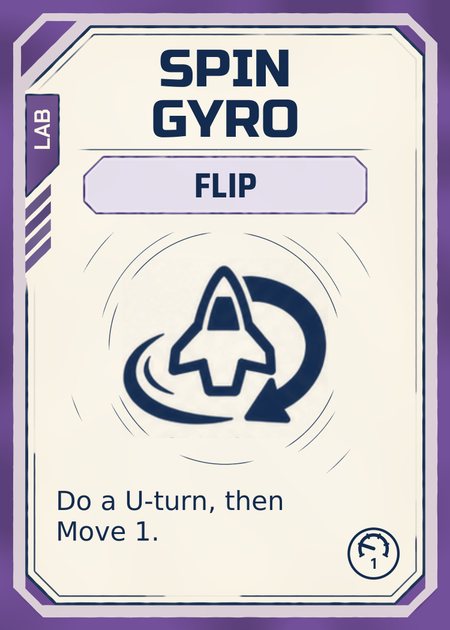
| Spin Gyro | Flip | U-turn, then Move 1. Use it at any point in your turn, even before your stack runs. |
Ship lanes
Each damage point rolls a d12 to pick a lane. The lanes are numbered clockwise around the ship, starting at the tail, as the arrows on your mat show. The first tile listed is the outermost.
| d12 | Outer | Middle | Inner |
|---|---|---|---|
| 1 | Tail Engine | Tail Cargo | Bridge |
| 2 | Left Engine | Left Life Support | Bridge |
| 3 | Left Armor | Kyber Lab | Right Cargo |
| 4 | Left Cannon | Left Armor | Bridge |
| 5 | Left Cargo | Kyber Lab | Right Armor |
| 6 | Left Cargo | Left Armor | Left Life Support |
| 7 | Forward Cannon | Kyber Lab | Bridge |
| 8 | Right Cargo | Right Armor | Right Life Support |
| 9 | Right Cargo | Kyber Lab | Left Armor |
| 10 | Right Cannon | Right Armor | Bridge |
| 11 | Right Armor | Kyber Lab | Left Cargo |
| 12 | Right Engine | Right Life Support | Bridge |
Six lanes end at the Bridge. Lanes 3, 5, 9 and 11 run through the Kyber Lab and out the far side, so a hit there can cut a whole section of the ship loose.
Tile connections
The right side mirrors the left.
| Tile | Connects to |
|---|---|
| Bridge | Kyber Lab, Tail Cargo, Left Armor, Right Armor, Left Life Support, Right Life Support |
| Kyber Lab | Bridge, Forward Cannon, Left Armor, Right Armor, Left Cargo, Right Cargo |
| Forward Cannon | Kyber Lab, Left Cargo, Right Cargo |
| Left Armor | Kyber Lab, Bridge, Left Cargo, Left Life Support, Left Cannon |
| Left Cargo | Forward Cannon, Kyber Lab, Left Armor, Left Cannon |
| Left Cannon | Left Armor, Left Cargo |
| Left Life Support | Bridge, Tail Cargo, Left Armor, Left Engine |
| Tail Cargo | Bridge, Tail Engine, Left Life Support, Right Life Support |
| Left / Right / Tail Engine | Left Life Support / Right Life Support / Tail Cargo |
Quick reference
Round
- Orders, Action 1, 2, 3, planet raid, Cleanup
- 6 rounds; start player passes left
Orders
- Draw 5 (6 if shield down), −1 per Overdrive last round
- 3 stacks of 0–2 cards
- Cover each: Sealed (once) or Overdrive (twice)
Attack
- Choose target when you attack
- 2d6 + Aim + Reds ≥ range + speed
- 12 always hits
- 1 VP per hit; 3 VP for a kill
Speed
- Set at end of your turn: distance moved, max 5
- Evasive Shot +3; turns 0; NightJammer 0
- Carries over until set again
Damage
- 1 + Power-Ups; d12 lane per point
- Outermost tile: token off, else tile destroyed
- Tiles cut off from the Bridge are lost
- Bridge or both Life Supports gone: ship destroyed
Shield
- 1 charge, never recharges
- Cancels one whole attack
- Attacker scores 1 VP; you gain a Desperation card
Desperation
- Gain one per damaging or shielded attack and per raid
- Goes on top of your deck
- Front: Move 2 or +1 damage; back: stronger effect
- Played cards stay yours
Scoring
- Planets 1–5: 2 VP; planet 6 (centre): 6 VP
- Cargo token: +1 if you survive
- Tie: most tiles, then most tokens
Card gallery
Every card in the game, as printed. Covers and deck backs are shown in one player colour (red); each player has the same set in their own colour.